Now, you are shown the steps of how to fix iOS system to normal for iPad.
Step 1. Connect Your Device to the Computer
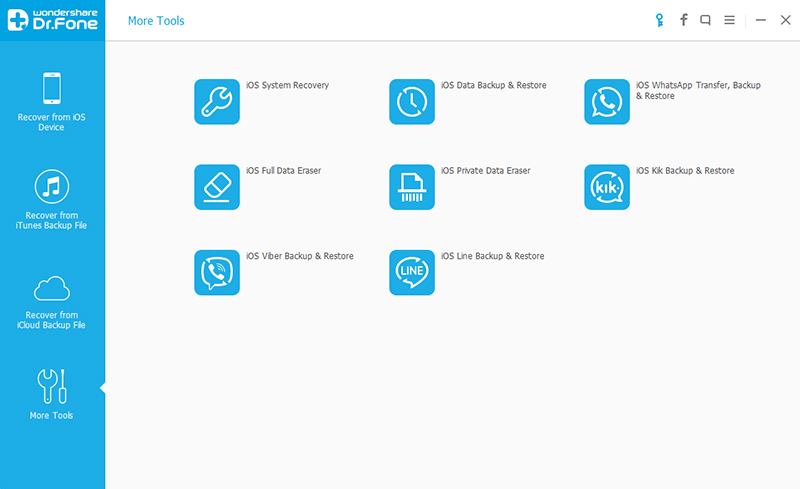
Open Dr. Fone on the computer for preparation. Then,connect your iPad to the computer with USB cable.
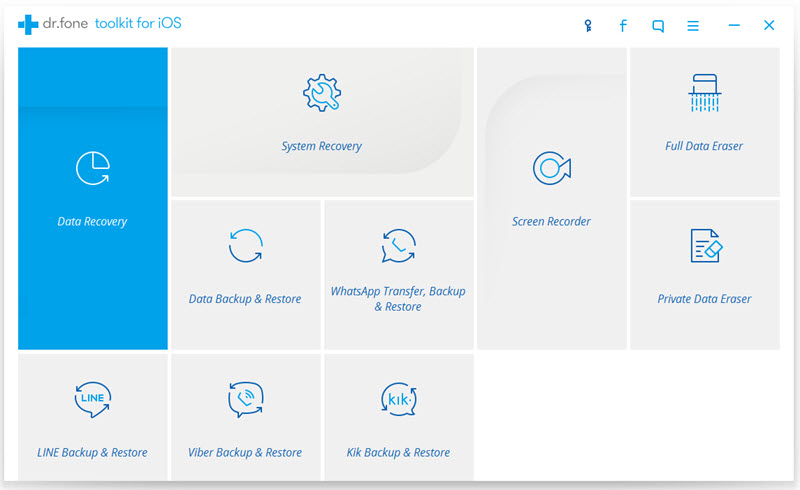
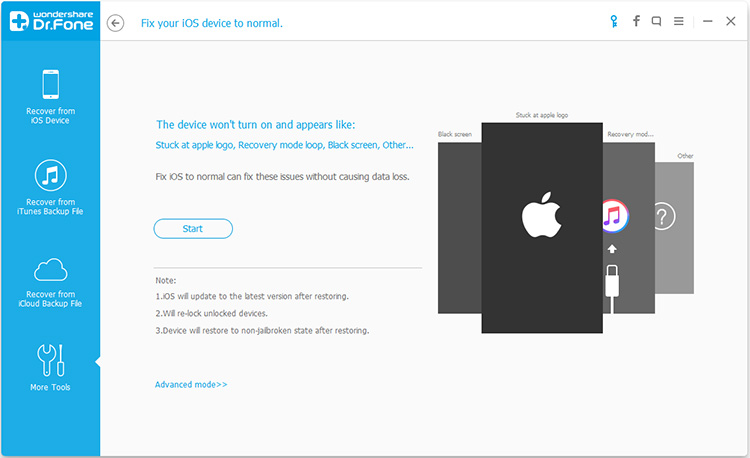
After entering System Recovery, please click "Start" button and the recovery starts.
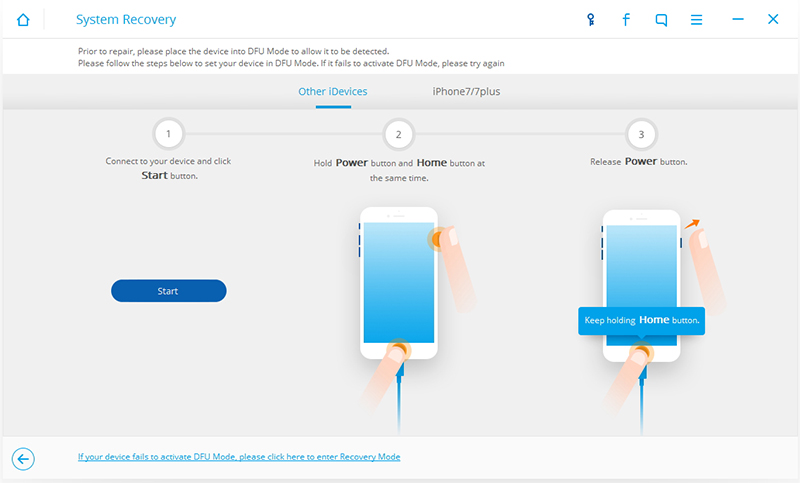
Step 2. Set Your iPad into DFU mode
Please set your iPad into DFU mode, so that Dr. Fone can detect your iPad and recognize its model.
If you have no idea of DFU mode. Please follow the instruction and images below. It is easy to follow. If fails at the first time, please try agian and make sure your iPad has been into DFU mode.
Step 3.Confirm the Model and Download the Package
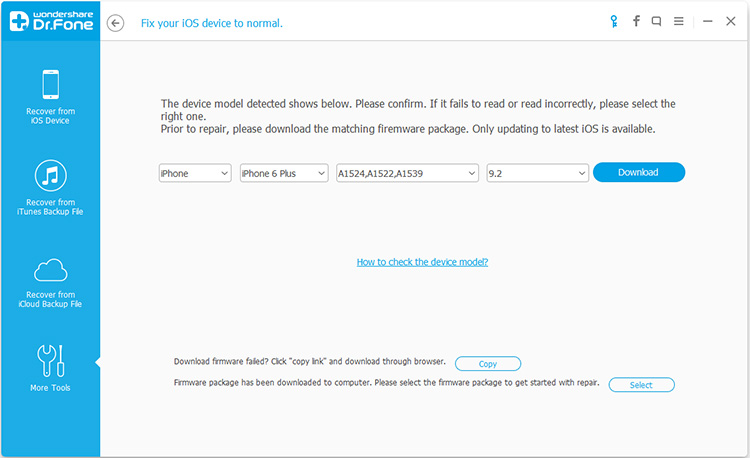
Here, please confirm the information of your iPad. If the information unmatch, please correct it manually.
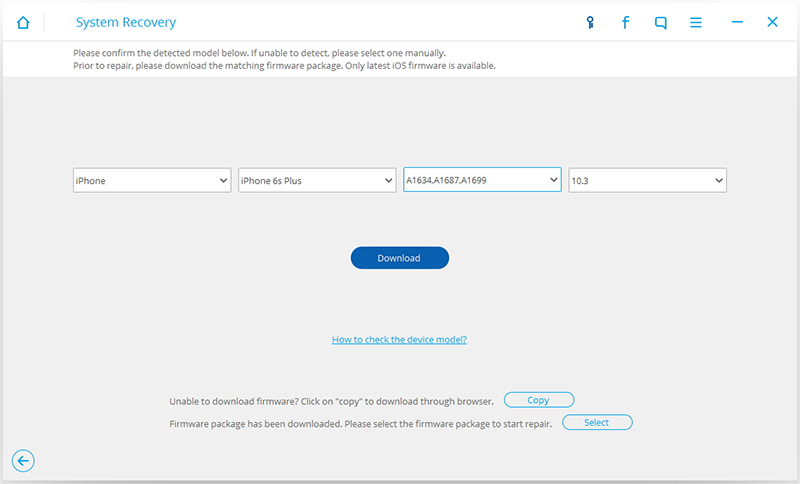
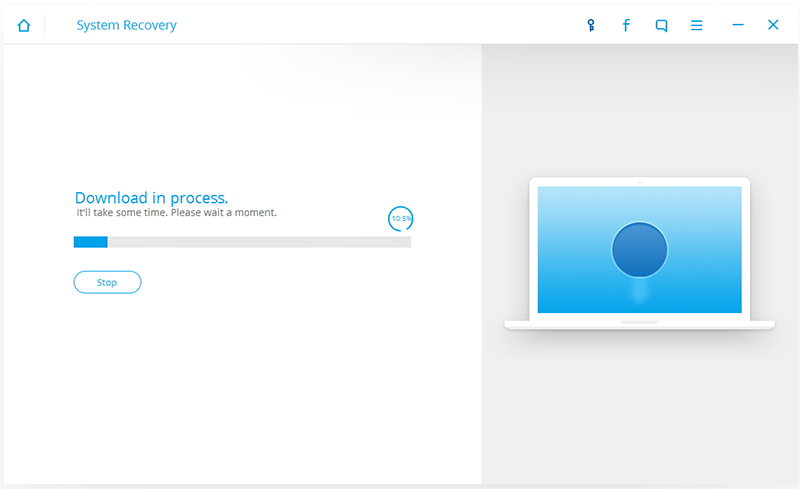
Before fixing, you need to prepare the matching firmware package. If the package has download, just select the matching firmware. If not, please click "Download" button to download the matching firmware package.
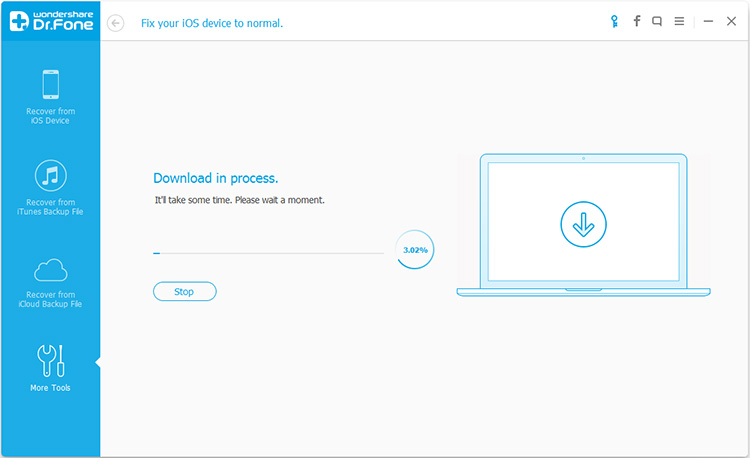
The download will take some time, please wait a moment.
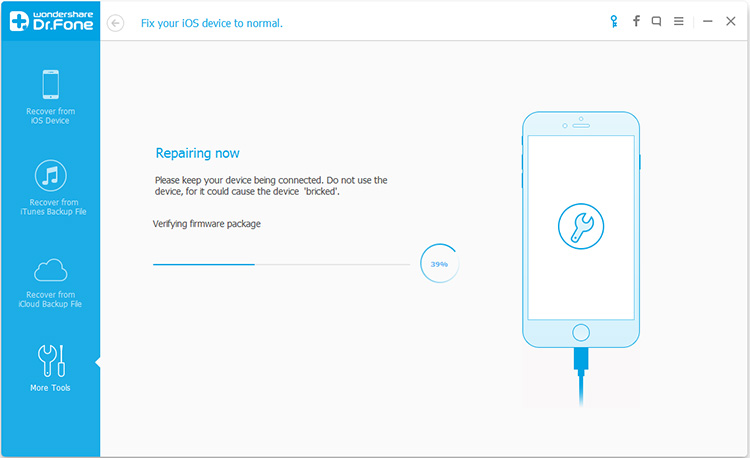
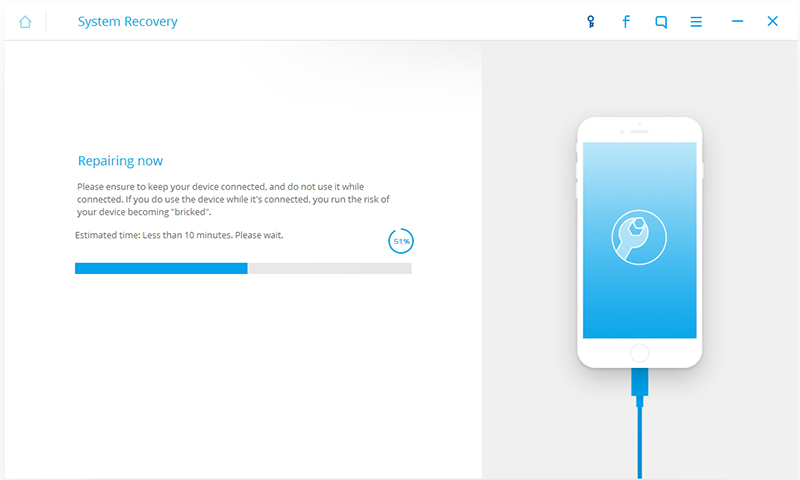
Step 4. Fix iOS to Normal status
Once the the package is downloaded, the repairing begins. The repairing may take at least 10 minutes. Please wait in a moment.
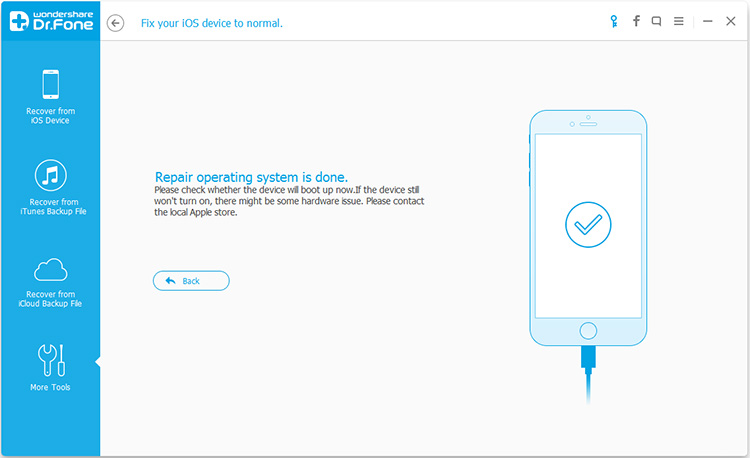
After reparing, the problem is fixed and your iPad become normal again.If your iPad is unable to boot, please restart it or try the recovery one more time.

Note: Make your iPhone connected all along the line and don't use your iPad during the recovery.
More info:
Fix iOS System to Normal on iPhone
Repair iPhone System to Normal after Failed to Jailbreak